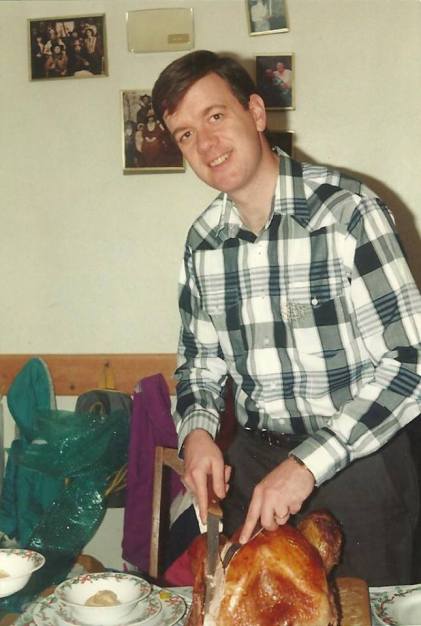
Thanksgiving is my favorite holiday. I love that it is all about gratitude and family. The other thing I love about Thanksgiving is that it’s not commercialized. It’s about food, family, and fun, and being grateful. (And yes, I do insist we go around the table and share something we’re thankful for, but not before we start eating!) I love to have my family get together, to laugh, to talk, and to eat. A bonus of being an empty nester is that now when they come for Thanksgiving dinner, they come bearing side dishes, or they even cook the turkey, or they host the dinner. (In fact, I haven’t cooked the Thanksgiving Turkey in years, thanks guys. But I do make pumpkin-based desserts!) However, I can make a tasty turkey, and in the spirit of helping aspiring cooks out, I thought I’d put together some resources for preparing turkey, beginning with how to thaw a turkey, and followed by several methods of cooking the bird. Brined turkey, my family’s favorite in recent years, is first on the list. I also found this infographic from Food Network that gives provides a timeline for T-day preparation including shopping, prepping, cooking, and planning the guest list. Now let’s talk turkey.
Thawing a Turkey
First things first, which means figure out how long it will take to thaw the bird. Thawing times are determined by weight, so plan in advance (or pay more for a fresh turkey).
Thawing Turkey Safely
- Thaw the turkey in its original wrapping, by placing it on a tray in the bottom of the refrigerator. Plan on about 24 hours of thawing time for every 5 pounds of turkey. For example, if your turkey weighs 20 pounds, it will take four or five days to thaw. Plan accordingly.
- Do not thaw on the counter (there won’t be room anyway, what with pumpkin pies, and other prep taking up space). But seriously, thawing a turkey at room temperature increases the risk of bacteria growth, and we don’t want that kind of bacteria.
- However, if you are in a rush, you can safely thaw a turkey in cold water. Do so by submerging the bird, in its wrapper, in a deep sink filled with cold water. Change the water every 30 minutes. This method takes about 30 minutes per pound. Do not use warm or hot water. (That pesky bacteria would like that.)
- You can thaw in the microwave too, follow your manufacturer’s directions for defrosting meat. If you do use the microwave method, be sure to cook the turkey immediately afterward. (This is not a method I favor, because this type of thawing is irregular and creates hot spots, and sometimes even partially cooks the smaller parts of the turkey.)
Brined Turkey
Our family has settled on brining as the perfect way to make turkey, the featured fowl for this occasion. Brining is a tried and true method used to create a moist, flavorful bird. Directions (complete with pictures) for brining a turkey can be found on The Pioneer Woman Cooks blog. Brining is followed by roasting the turkey; we favor the roasting bag method (below).
Traditional Roasted Turkey
Roasting is a traditional way to cook a turkey. A properly roasted turkey is golden brown, juicy, and delicious, and your house will smell wonderful during the process. Here are two ways to roast a turkey.
Oven Method – Aluminium Tent
Pre-heat the oven to 325° F
Prepare the turkey.
Unwrap and discard wrappings, remove the neck and the giblets from the turkey. Coat the turkey (reach under the skin) with oil or butter, including the cavity; this also helps with browning. Add salt & pepper, and any other seasonings you desire.
Suggested Seasonings
- 1 tablespoon dried sage
- 1 teaspoon each dried thyme, basil, rosemary, paprika and seasoned salt
- 1/2 teaspoon pepper
Place the turkey in a roasting pan, deep enough to catch the drippings, breast side up. (Use a wire rack to keep the turkey from sticking to the pan. Roast until a meat thermometer inserted into the innermost part of the thigh or breast reads a minimum of 165° F, meaning the turkey is safe to eat. The juices should run clear when the turkey is pierced with a fork.
An aluminum foil tent may be placed over the turkey to prevent over browning and keep the turkey moist. Leave on the turkey for the first few hours, remove for the last hour to allow the turkey to brown.
This USDA Roasting Timetable for Fresh or Thawed Turkey, will give you the correct times based on roasting the turkey at 325° F. (Remember that these times are approximate, so be sure to use a properly placed food thermometer — inside the thigh, not touching bone to determine doneness; turkey is safe to eat when it has reached 165°.)
Turkey Baked in a Roasting Bag
I like to use a roasting bag and a throw-away aluminum roasting pan for easy clean up; be sure to place the pan on a baking sheet for support. If using a roasting bag, preheat the oven to 350° F rather than 325° and follow these directions:
Preparing the Turkey
Thaw the turkey; remove the neck and giblets. Coat the turkey (reach under the skin) with butter or oil, add salt, pepper, and any other seasonings you desire.
Suggested Seasonings
- 1 tablespoon dried sage
- 1 teaspoon each dried thyme, basil, rosemary, paprika and seasoned salt
- 1/2 teaspoon pepper
Put 2 tablespoons of flour into a turkey-sized roasting bag, shake to evenly coat the inside of the bag. Cut up two onions into quarters and a bunch of celery ribs into chunks. Place the onions and celery into the bottom of the bag; add the turkey, placing it breast-side up into the bag, on top of the vegetables. Secure the opening with the provided zip tie. Place the turkey in a roasting pan that is at least 2″ deep (so it will hold the juices easily). Cut six slits into the top of the bag. Insert a meat thermometer into the thickest part of the thigh. Place turkey in the oven and roast according to the weight.
Cooking Times for Roasting in Oven Bag
1 1/2 to 2 hours for 8-12 pound turkeys; 2 to 2 1/2 hours for 12-16 pound turkeys; 2 1/2 to 3 hours for 16-20 pound turkeys; 3 to 3 1/2 hours for 20-24 pound turkeys.
Deep Fried Turkey
The Butterball website provides complete directions for preparing a deep-fried turkey. This method results in a tender and delicious turkey. Just make sure the turkey is completely thawed before cooking!
Gravy
Turkey with potatoes and gravy make up the key parts of Thanksgiving dinner for my family, so I will share how to make gravy here. I do believe I’ve taught all of my children how to make gravy (if not let me know, and I will teach you), because homemade gravy is so much better than gravy from a mix; and really, it’s quite simple to make. Because it’s easier to show, and to save time in trying to explain, I found this video that shows and tells how to make gravy.
The key things to remember are to separate the fat from the juice, the ratio of fat/flour is 1:1; keep whisking, to prevent lumps from forming, use the juices from the turkey (or whatever meat you’ve cooked, or if you don’t have juices, you can use chicken or beef broth to make gravy); and most importantly, homemade gravy tastes soooo much better than instant gravy packets, and it really doesn’t take that much effort.
Desserts
Of course, Thanksgiving would be incomplete without a pumpkin-spiced dessert. Try one of these great pumpkin-based recipes. I make at least one of them every Thanksgiving: Turtle Pumpkin Pie, Pumpkin Pie Cake or Pumpkin Roll.
There are a few people who don’t care for pumpkin — surprising but true — and this Sticky Toffee Pudding Cake recipe is a decadent dessert worthy of Thanksgiving.
